


I was thrilled to get a chance to review Master Kitz The Starry Night from Kidzaw.com. Check out their website -- http://www.kidzaw.com/the-starry-night/
What is Master Kitz?
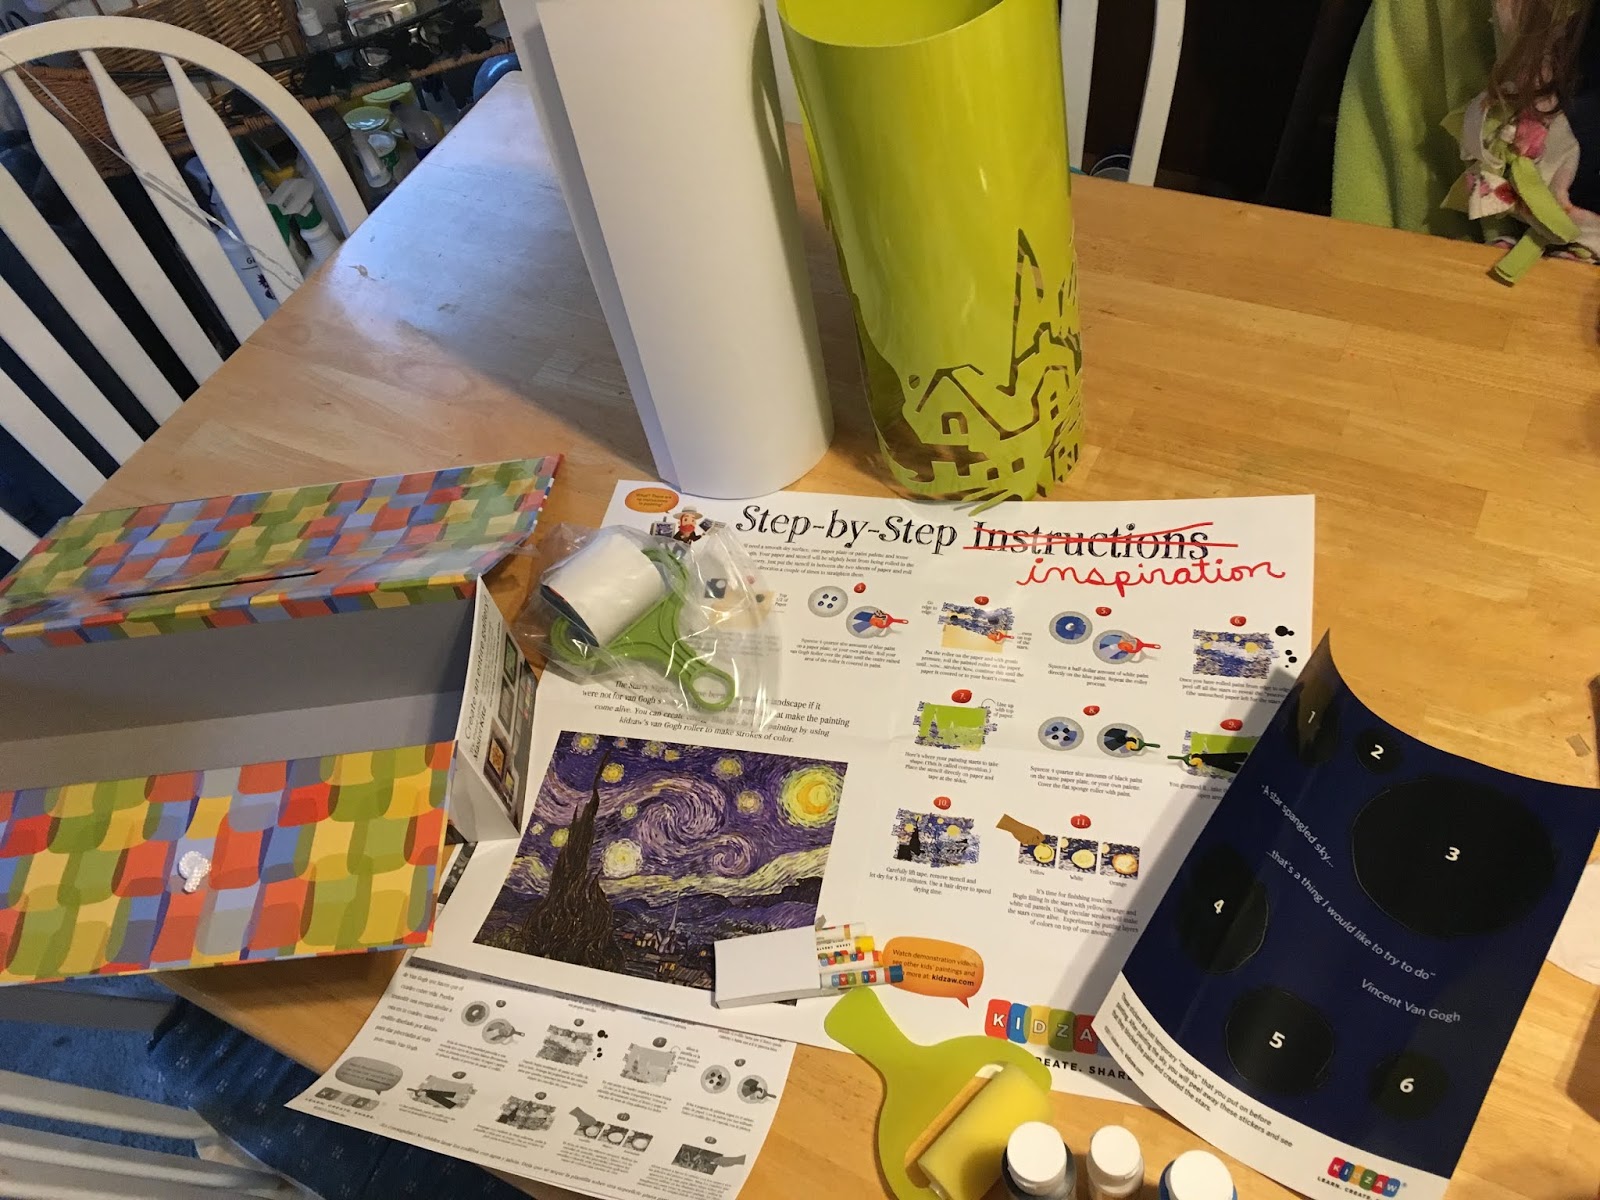
Master Kitz is basically a ready-to-go art lesson in a portable box. The box comes with everything you need to create a frame-ready piece of art. The project I received is The Starry Night from Vincent Van Gogh. It came with everything I needed except for tape and a mat. Included were paint, stencils and stickers, sponge paint applicator rollers, texture roller, oil pastels, paper and an instructional sheet about the artist, Van Gogh.
How Did We Use It?


Now for the bulk of the picture - The big yellow stencil. We taped this one down so it wouldn't move on us. It came rolled inside the box, so I also rolled it the opposite direction for a bit before trying to set it flat against the paper. It only took a few small pieces of masking tape to hold it, and we carefully placed a couple pieces so as not to interfere with the blue paint.


When this arrived, I couldn't wait to show it to my art-loving daughter. We opened up the box and explored the steps and immediately noticed that there were two sheets of paper, so I got excited as I also got to create a masterpiece right alongside my daughter. We followed the steps, which were very well explained, and as we waited for the paint to dry between steps, I read the lesson about Vincent Van Gogh.
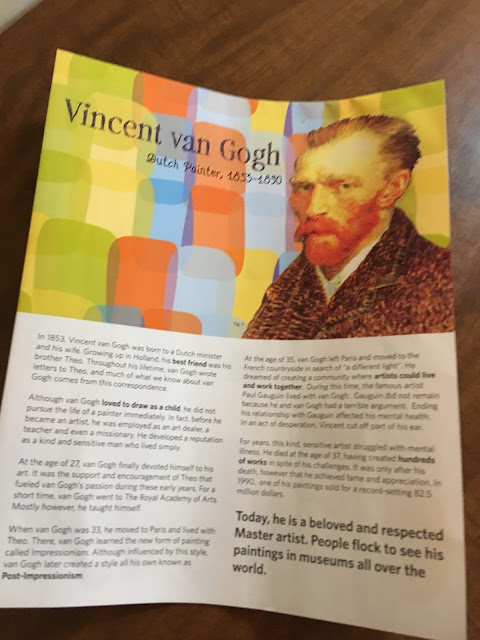


I loved that a brief summary of the artist was laid out in a lesson sheet format as well as a fun flowchart-like fashion. I enjoyed reading and following the highlights of his life with my daughter. I felt like this lesson synopsis makes the kit more than just an arts and craft item, but it turns it into a nice addition to learning art. I even learned a couple things about Van Gogh that I never knew before, like why he started painting in the style he's most famous for.

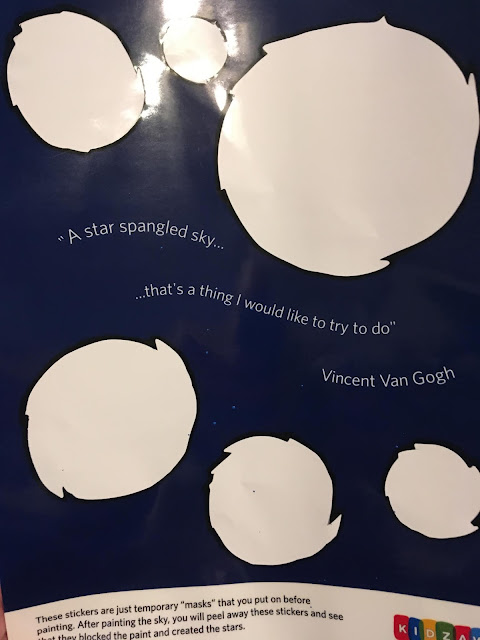
The instructions were very easy to follow. The first step was lying down a mat (we used a big sheet of cardboard) and then placing the sticker stencils wherever you decide. I loved that this first step gave the child a chance to put a personal touch to the picture.

The next step was to apply texture using a texture paint roller rubber stamp.


The secret to a mess-free cleanup is allowing the paint to dry before moving onto the next step. But, I was anxious to paint my picture as well, so I lifted up my daughter's stencil stickers while they were still wet. Still, not a big mess though as the paint washed right off of my hands. If you really want a practically no-mess process, you could always use some thin rubber gloves.


The final touches was to use the oil pastels to fill in the yellow on the stars and add accent to the rest of the picture as desired.
And here are our final pieces of art:


What Did We Think?
This was so fun! The finished product looks good as well. I feel like it could be framed and even gifted to a grandparent or displayed. The instructions were super easy to follow, and it only took us part of an afternoon to complete with minimal messy cleanup. I think it would make a fantastic kit to use for an art-themed birthday party or for a co-op class if several kits were purchased, or just to create on your own like we did.
FIND Kidzaw ON SOCIAL MEDIA @:
Facebook: https://www.facebook.com/Kidzaw-160167827376266/
Twitter: https://twitter.com/kidzaw
Pinterest:
YouTube: https://www.youtube.com/user/kidzaw123?blend=1&ob=5
Twitter: https://twitter.com/kidzaw
Pinterest:
YouTube: https://www.youtube.com/user/kidzaw123?blend=1&ob=5
Read what other members of the Homeschool Review Crew thought by clicking on the picture below:

No comments:
Post a Comment